Documentation Index
Fetch the complete documentation index at: https://developer.novacpayment.com/llms.txt
Use this file to discover all available pages before exploring further.
Overview
Payment Links extend the functionality of Checkouts, offering a powerful and flexible way to receive payments from your customers. They support multiple payment methods and can be accessed from anywhere, on any device, ensuring a seamless payment experience for your customers. Merchants can use Novac Payment Links for a variety of purposes, including online sales on social media, service subscriptions, loan repayments, and even donations or fundraising campaigns. This is due to the reusability nature.You can create a payment link on Novac dashboard. When you create from your dashboard they are mostly reusable, this means that you can receive inflows from a single created payment link by sending to multiple customers. However, if you want to create a checkout payment that is uniquely tied to a specific payment link — for example, for a one-time or customer-specific transaction, you should create it via the API.
Prerequisite
Prerequisite
To get started you must have complete all the following item on the list below:
- Create a merchant account - ensure that you have created an account and completed KYC.
- Obtain API keys - useful for creating one time payment link via API.
Payment methods
Payment methods
Your clients can choose to pay via :
- Card Payment - Available in checkout payment.
- Bank transfer - Available in checkout payment.
- USSD payment - Available in checkout payment.
- NQR (Novac QR) - Available for merchant to use when they create a payment link on the dashboard.
Create a reusable payment link via Dashboard
Step 1 - Log in to your Novac Dashboard
Sign in to your Novac Dashboard using your account credentials.
Step 2 - Navigate to the Payments tab
On the side menu, navigate to the Payments tab and click on Payment Links.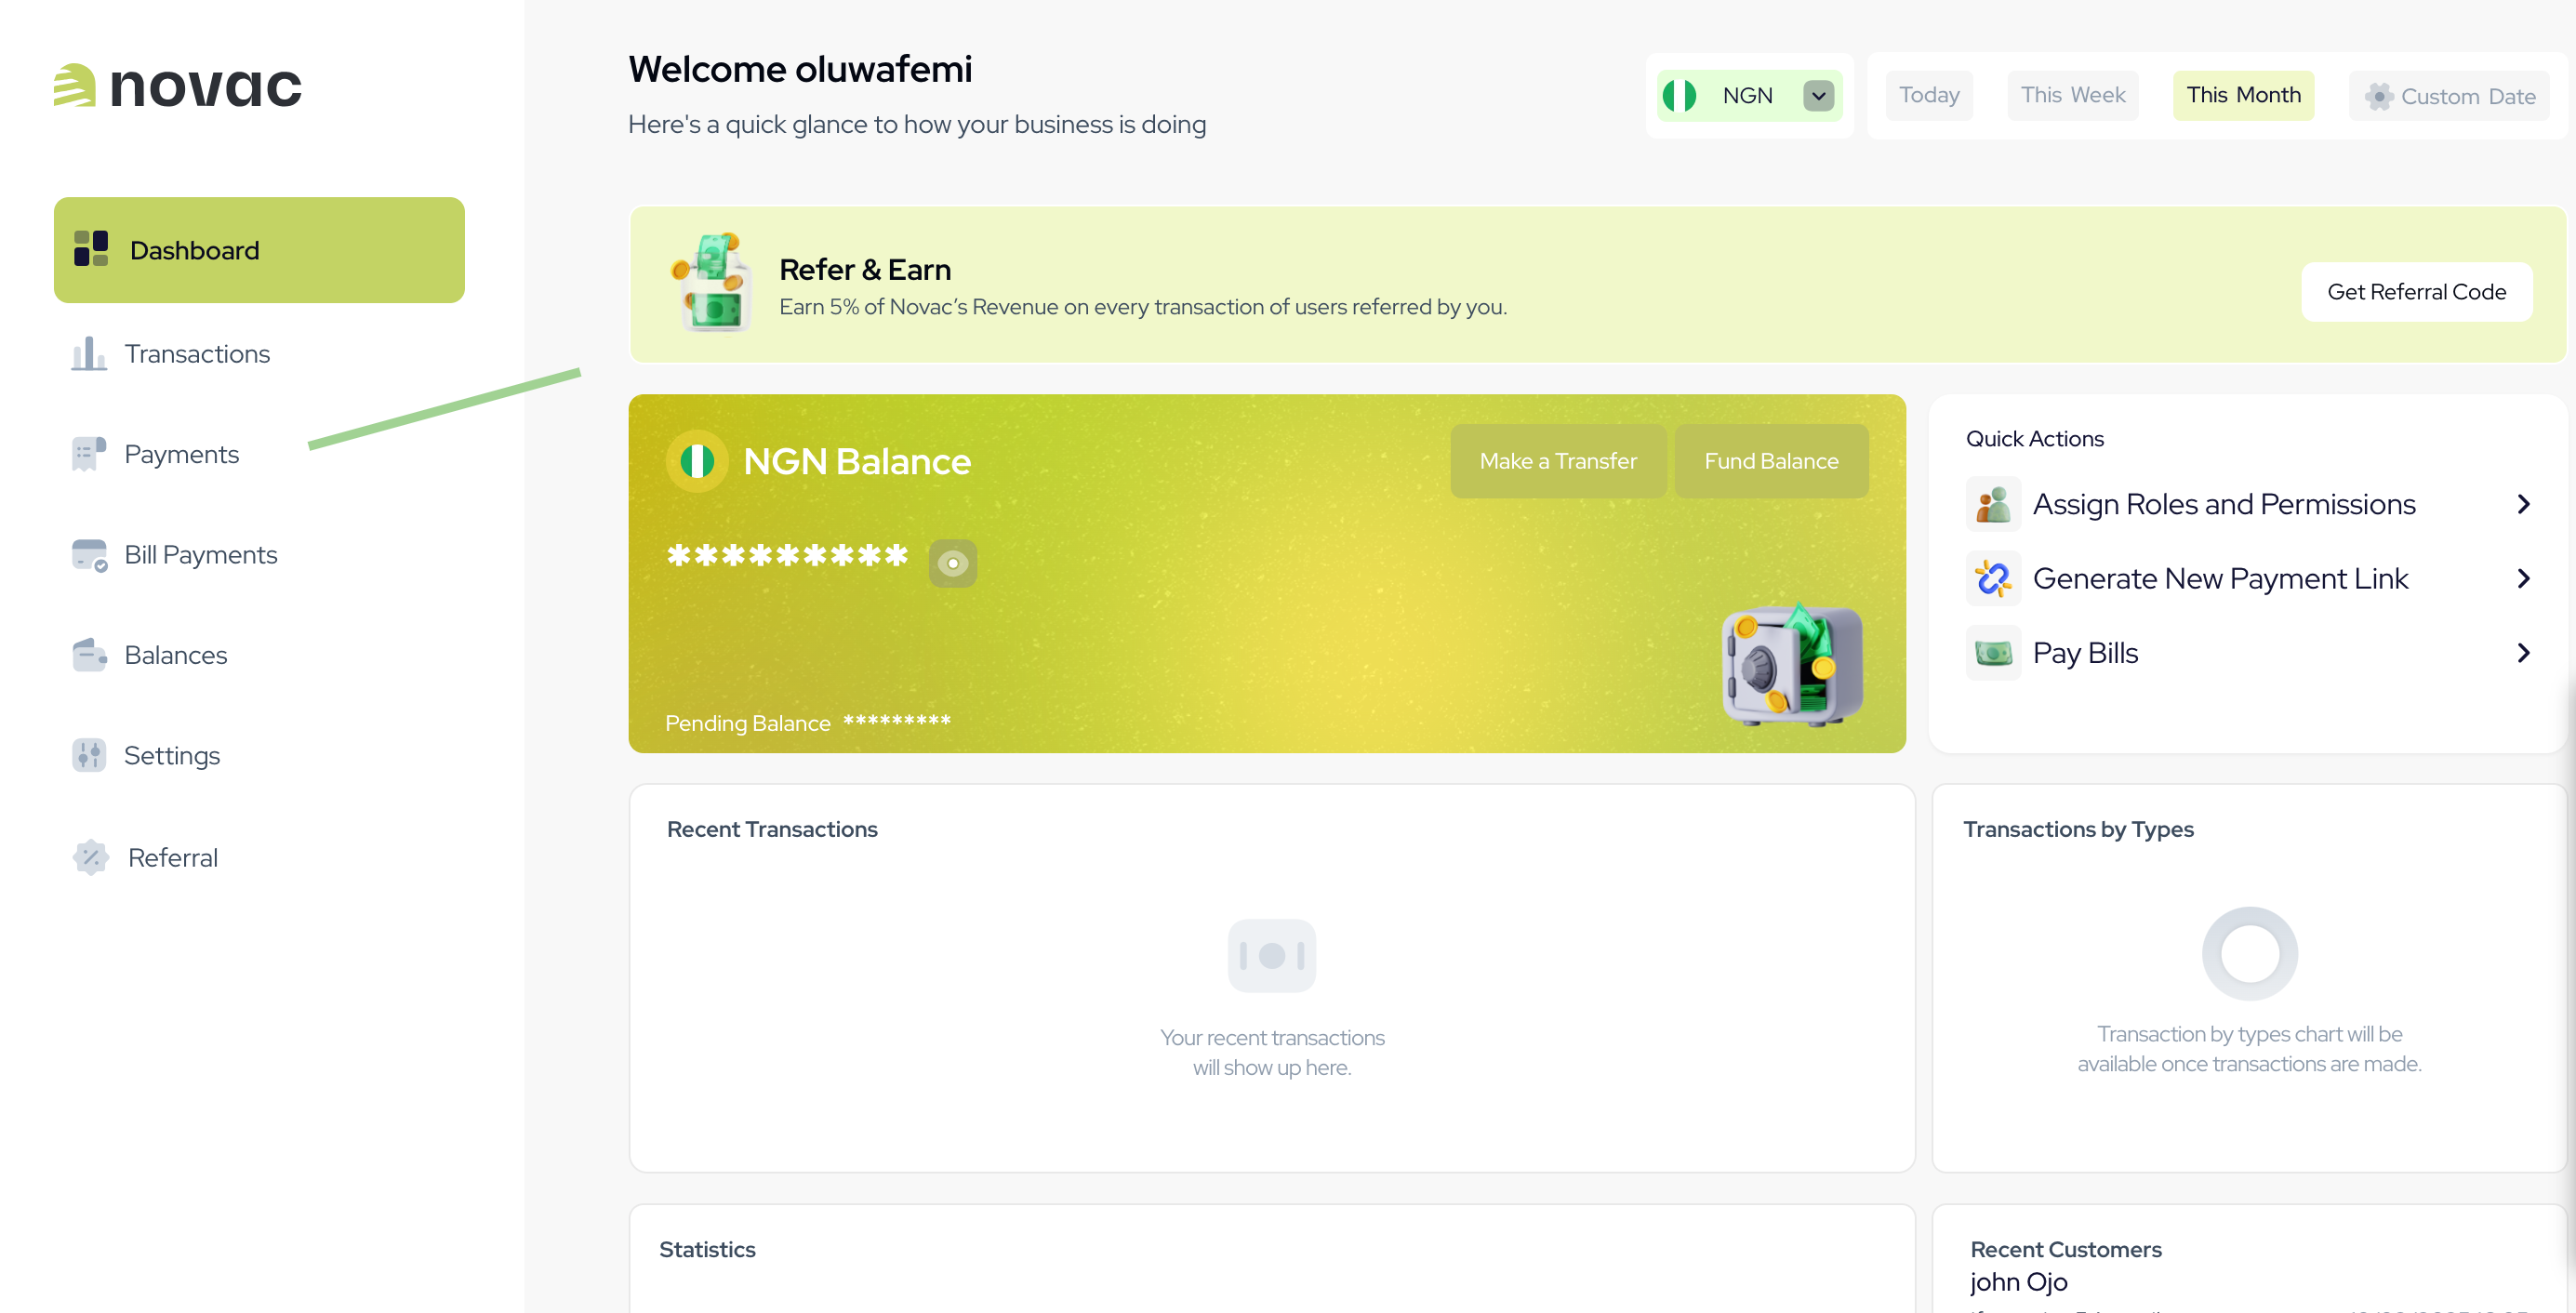
Step 3 - Click the ‘New Payment Link’ button
Click the New Payment Link button to create a new link.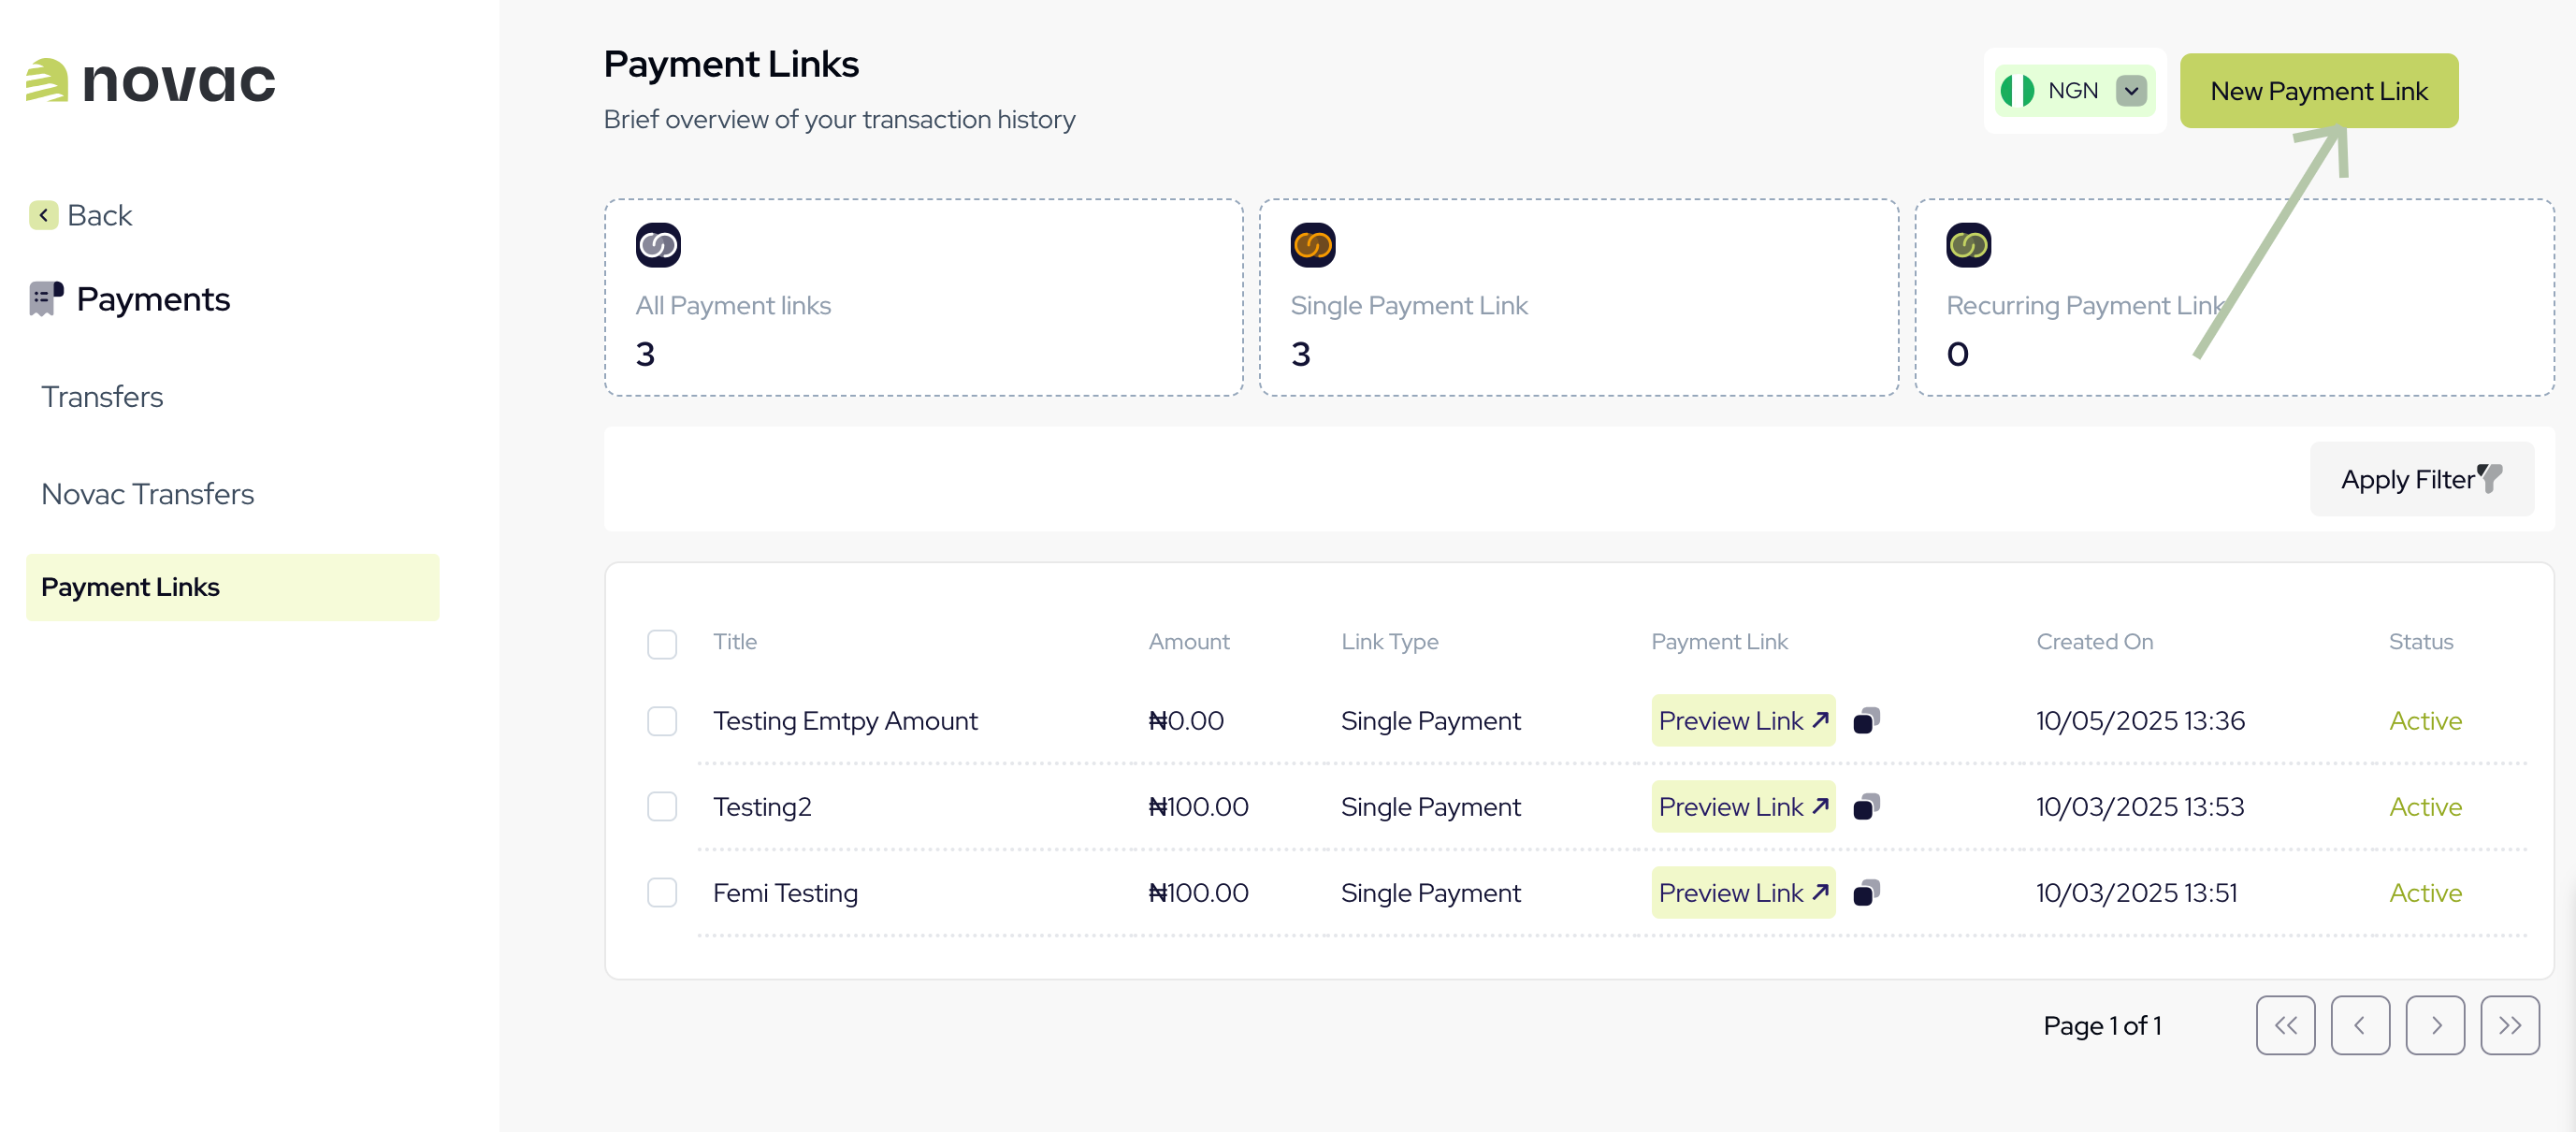
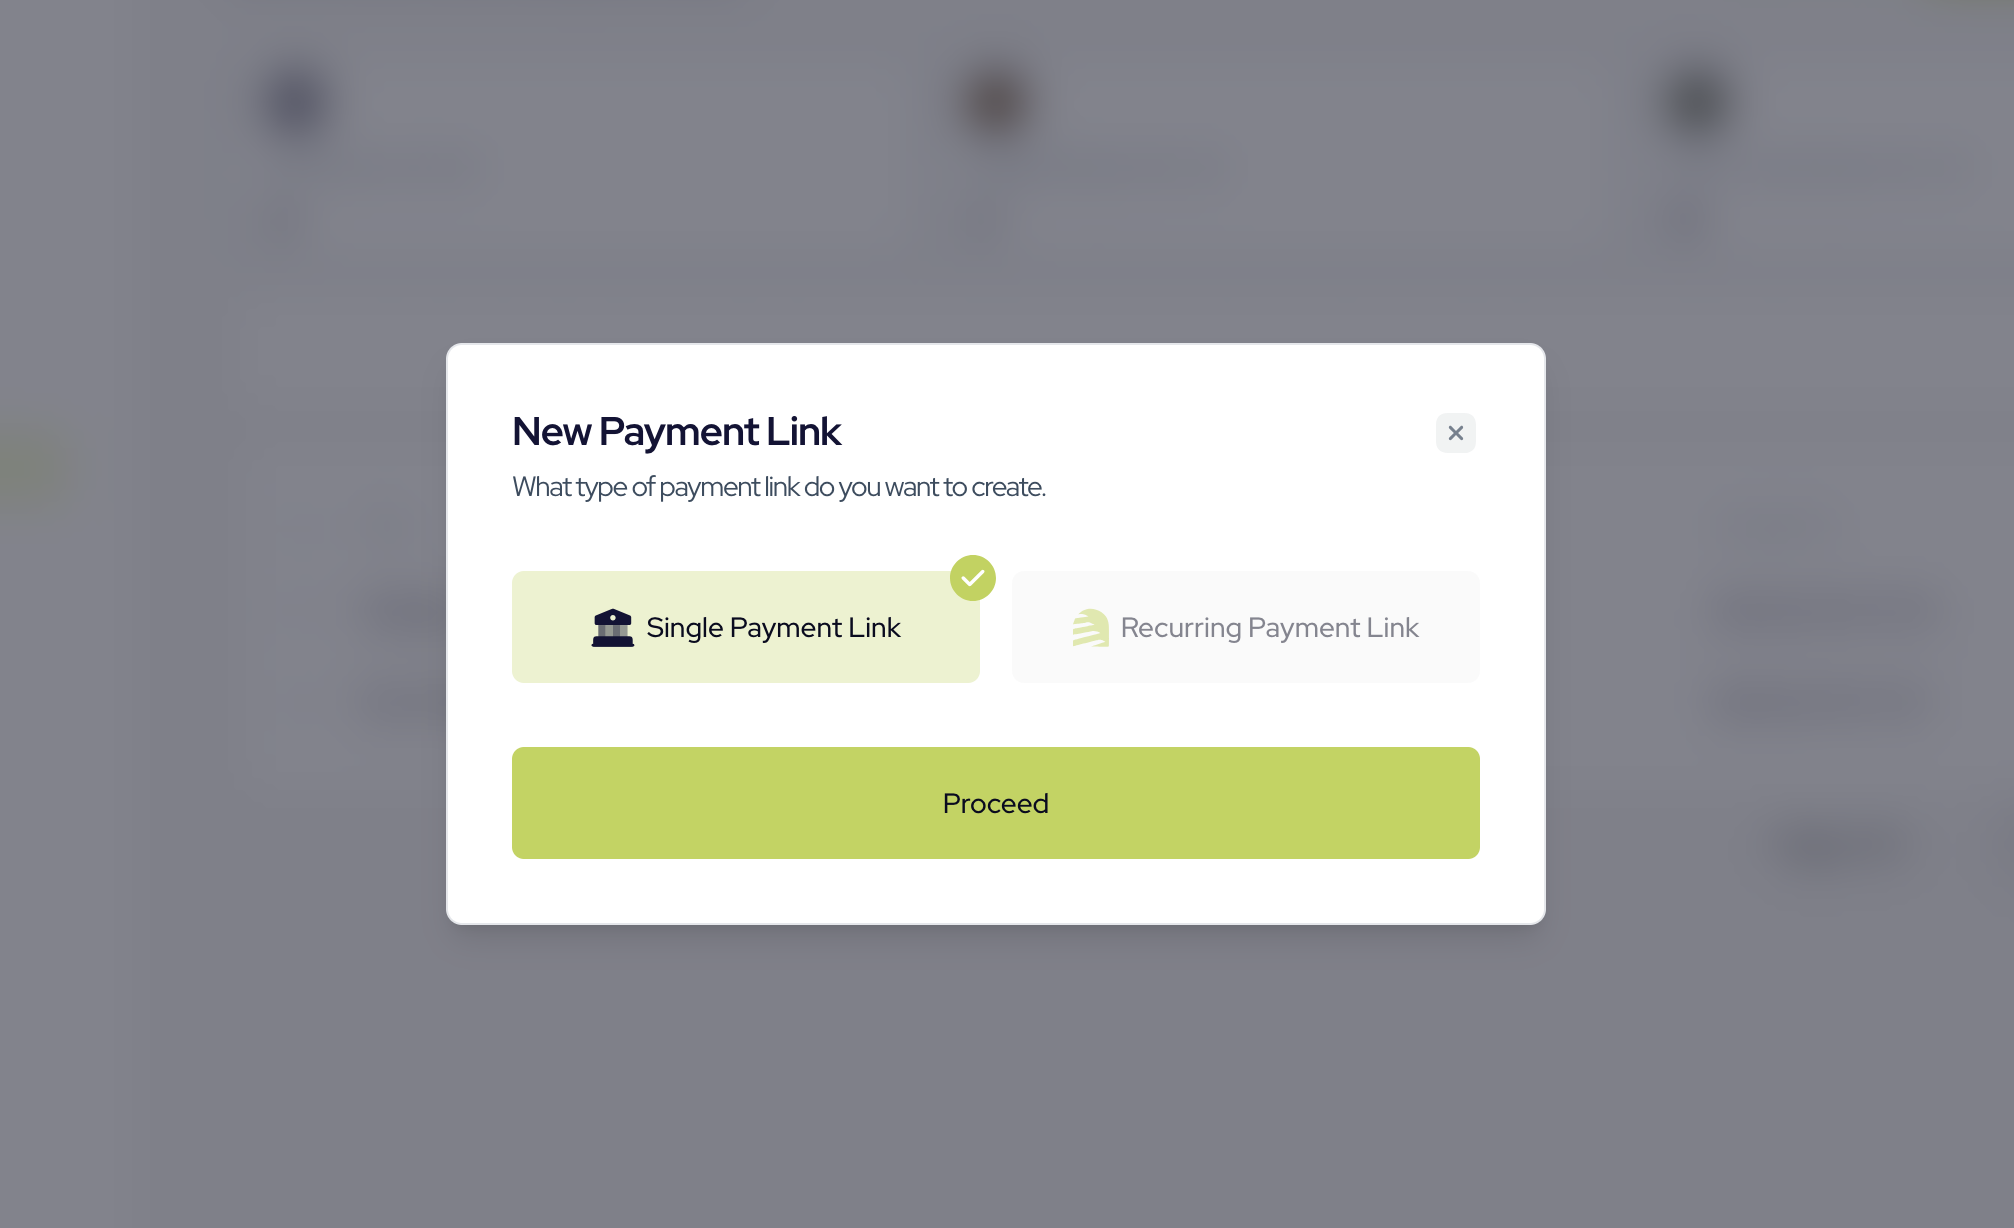
The Recurring Payment Link option is still under development and not available for public use at the moment.
Step 4 - Complete the form
Fill in the required details for your new payment link in the form and click Create Link to complete the process.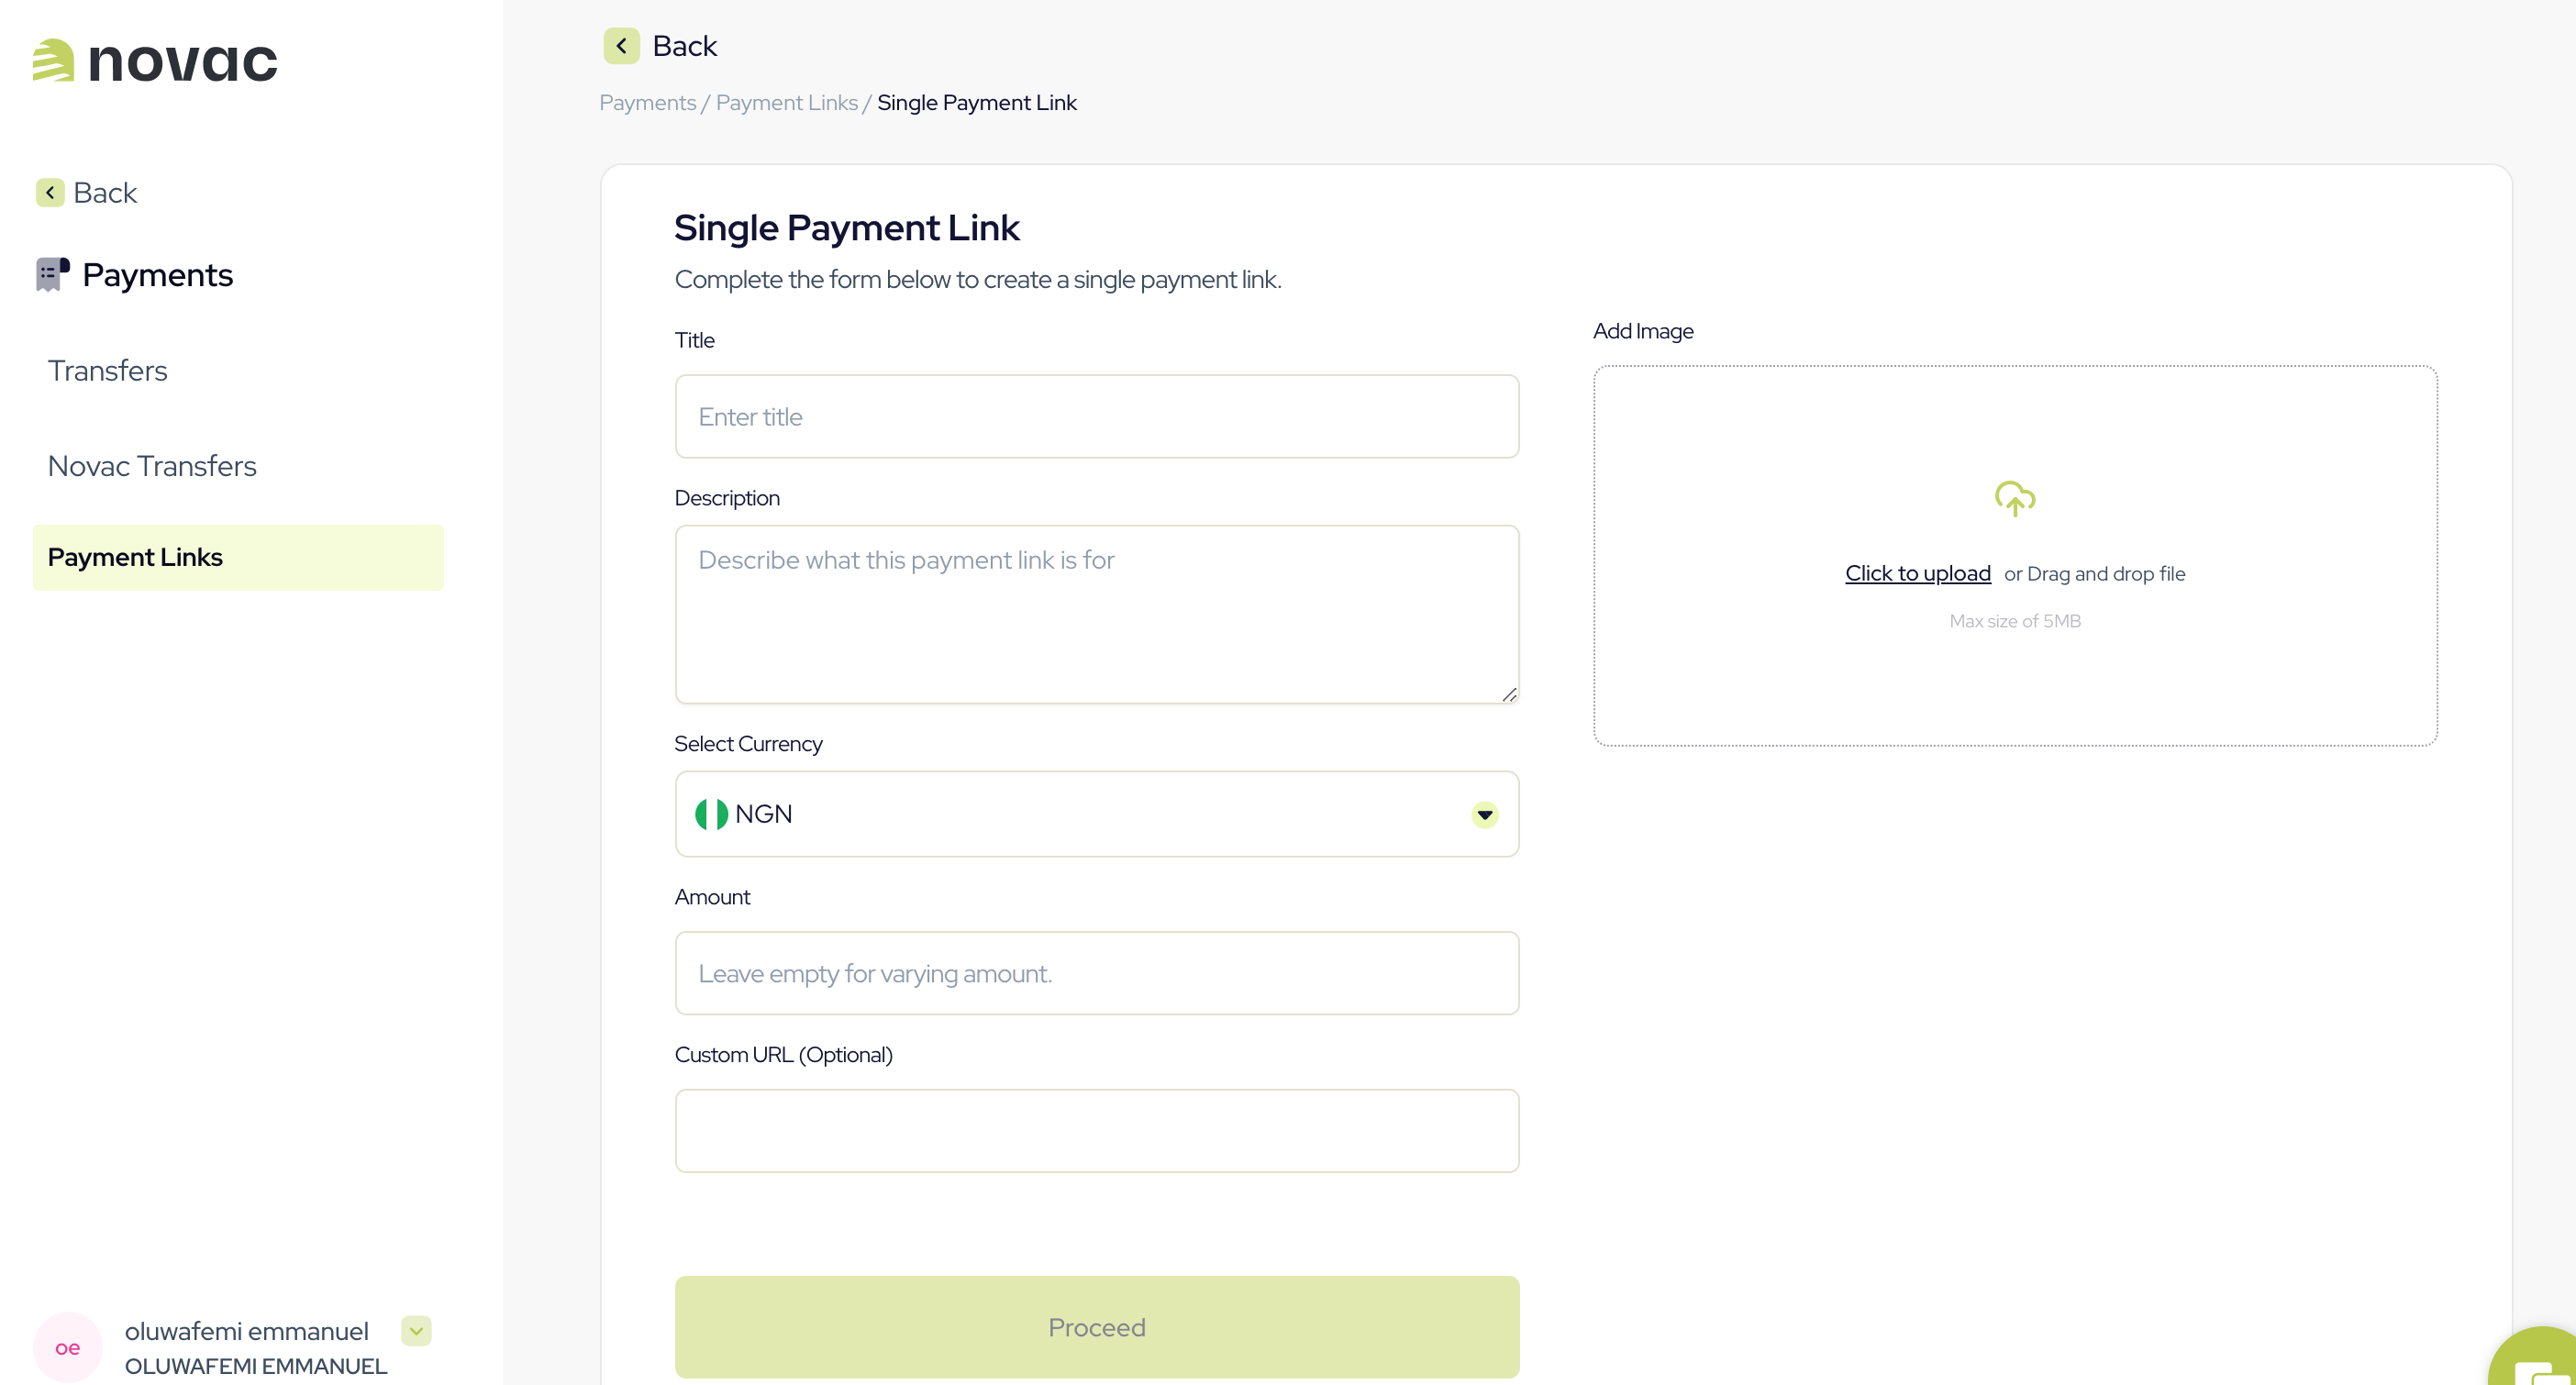
To allow payers to enter their own amount, simply leave the “Amount” field empty.
This enables multiple people to pay any amount they choose through the link. Perfect for receiving donations or flexible payments.
This enables multiple people to pay any amount they choose through the link. Perfect for receiving donations or flexible payments.
Create a checkout payment with payment link reference
Creating a checkout payment with payment link reference via API allows you to further customize the experience for your customer. Every single payment link created on the dashboard comes with a unique “Payment Link Reference” also known as thepaymentURL. You can also see this as initiating a transaction via payment link reference and it can be used for one time payment.
You can find this reference by clicking to view the details of any payment link on your dashboard.
Click on a single payment link from the list to view its details:

Request
Response
What’s Next?
Now that you’ve successfully configured your split settlement accounts, the next step is to create a checkout payment that applies your split configuration. When a checkout payment is initiated, You may apply the split config as part of your request object and Novac will distribute funds according to your defined rules (flat or percent) during settlement. This means:- Sub-settlement accounts receive their allocated share.
- The remaining balance is sent to your primary settlement account.
- No additional split parameters are required at payment time if your split has already been configured.
- Novac uses T + 1 settlement for local transaction and T + 7 for international transactions.