
Begin your journey with the Novac API documentation to seamlessly integrate and build powerful payment solutions.
KYC Completion
Ensure you have completed your KYC and it has been approved, as this is mandatory before you can start using the APIs.
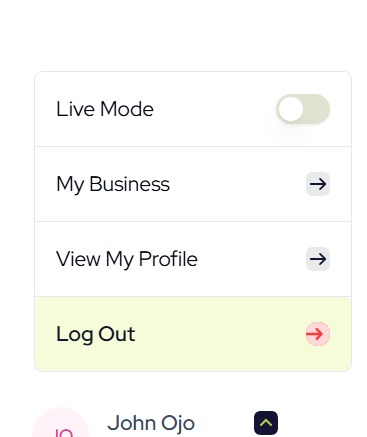
UNDERSTANDING TEST AND LIVE MODES
While integrating, ensure you remain in Test mode. Once you're done, you can switch to Live mode to start processing live transactions. Note that every transaction and PaymentLink set up in Test mode will not appear in Live mode, and vice versa.
SETTING UP WEBHOOKS
Navigate to Webhooks under Settings to set up your test and live Webhook URLs. After a transaction is completed, an update will be posted to your URL. Ensure you have a POST endpoint defined that can receive this postback, and make sure it doesn't require authentication.
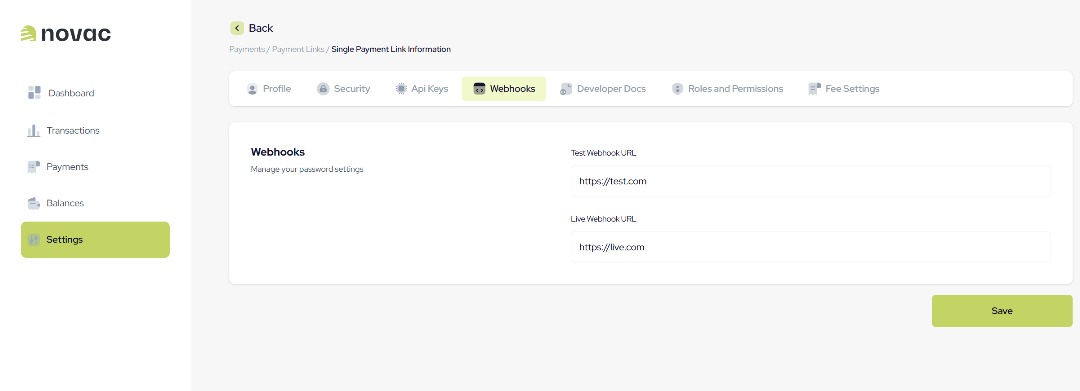
The callback will be in the form:
curl --request POST \
     --url {your-webhookurl}?reference=string&status=string
Ensure you define an endpoint that can accept and process this request.
When you receive a webhook, use the reference to call the Verify Transaction endpoint to retrieve the complete details of the transaction.
SETTING UP PAYMENT LINKS
This step is required for you to initiate a transaction.
- Navigate to Payments → Payment Links, select New Payment Link at the top-right corner, choose Single Payment Link, and click Proceed.
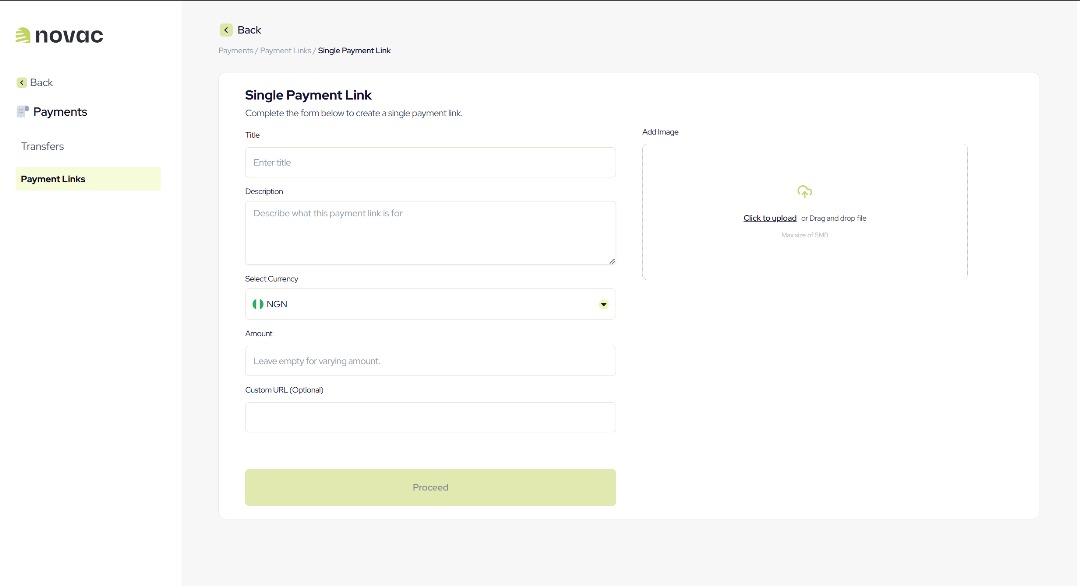
- The information entered here (Title, Description, Image) will be displayed on the checkout page for your customer to see.
- If you want the payment page to have a custom URL, you can enter one in the Custom URL field.
- For variable amounts (e.g., checkouts where the amount to collect can vary), leave the Amount field empty.
- If the payment is for a specific amount, enter the amount in the Amount field.
- You can set up as many payment links as needed for different payment purposes.
- After setting up a payment link, navigate back to the Payment Link Dashboard, where you will see a list of all your payment links.
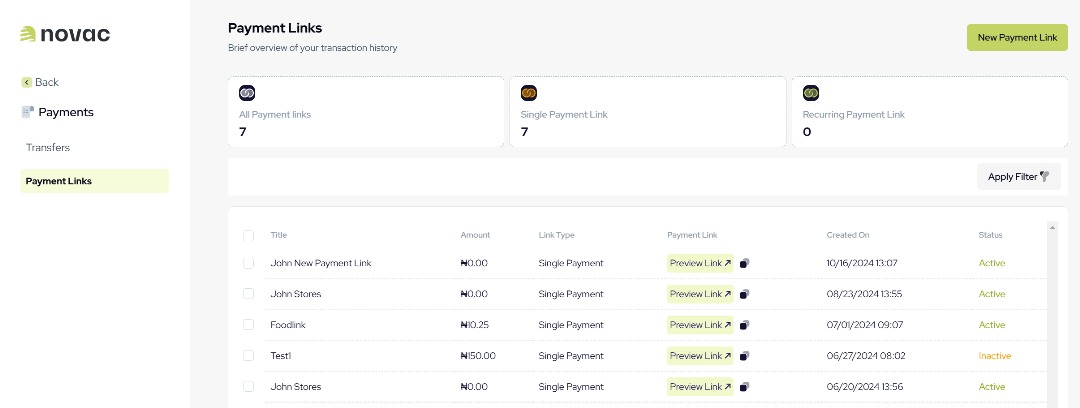
- Select the link you created to view its details. You will find the Payment URL, which you will use as the paymentLinkReference parameter when calling the
api/v1/paymentlink/initiateendpoint to initiate a transaction, the success response body contains a paymentRedirectUrl which you would then redirect the user to complete the payment.
Note:
Payment links generated in Test mode will not work in Live mode. When switching to Live, you will need to set up a new payment link specifically for Live mode.
GET YOUR API KEYS
When you set up a Novac account, you’ll receive two types of API keys:
- Secret Key: This is the most powerful key, it is used for the Payouts endpoints to initiate and verify payouts. It must be kept private and never exposed publicly.
- Public Key: Used in public scenarios, such as checkout.
You can retrieve these keys be navigating to Settings -> Api Keys.
Note: Both Test and Live versions of the keys are generated. Ensure you use the appropriate version for Test and Live transactions.
TRANSACTION STATUS QUERY
To query the status of a transaction, send a GET request in the format below:
https://api.novacpayment.com/api/v1/checkout/{transactionRef}/verify
Here, transactionRef is the transaction reference you received in the success response of the initiate transaction request.
Sample status responses:
successful: Indicates that the customer has been successfully debited and the value has been received.
pending: Indicates that the transaction is still in progress. In this case, you need to re-query the status.
failed/reversed: Indicates that the transaction failed, and the order should not be processed.
GO LIVE
After integrating with the endpoints, ensure you switch to Live mode and use the Live keys.
If you are using the Payout endpoints, you must send an IP whitelist request to us, specifying the purpose of the integration and your server IP range. Without this, you will not be able to initiate a payout in Live mode.